
Supplies:

Fabric note--I like to use three different prints, but the selection is up to you. This can truly be a scrap buster. If you are starting from scratch, you can make this with two fat quarters.
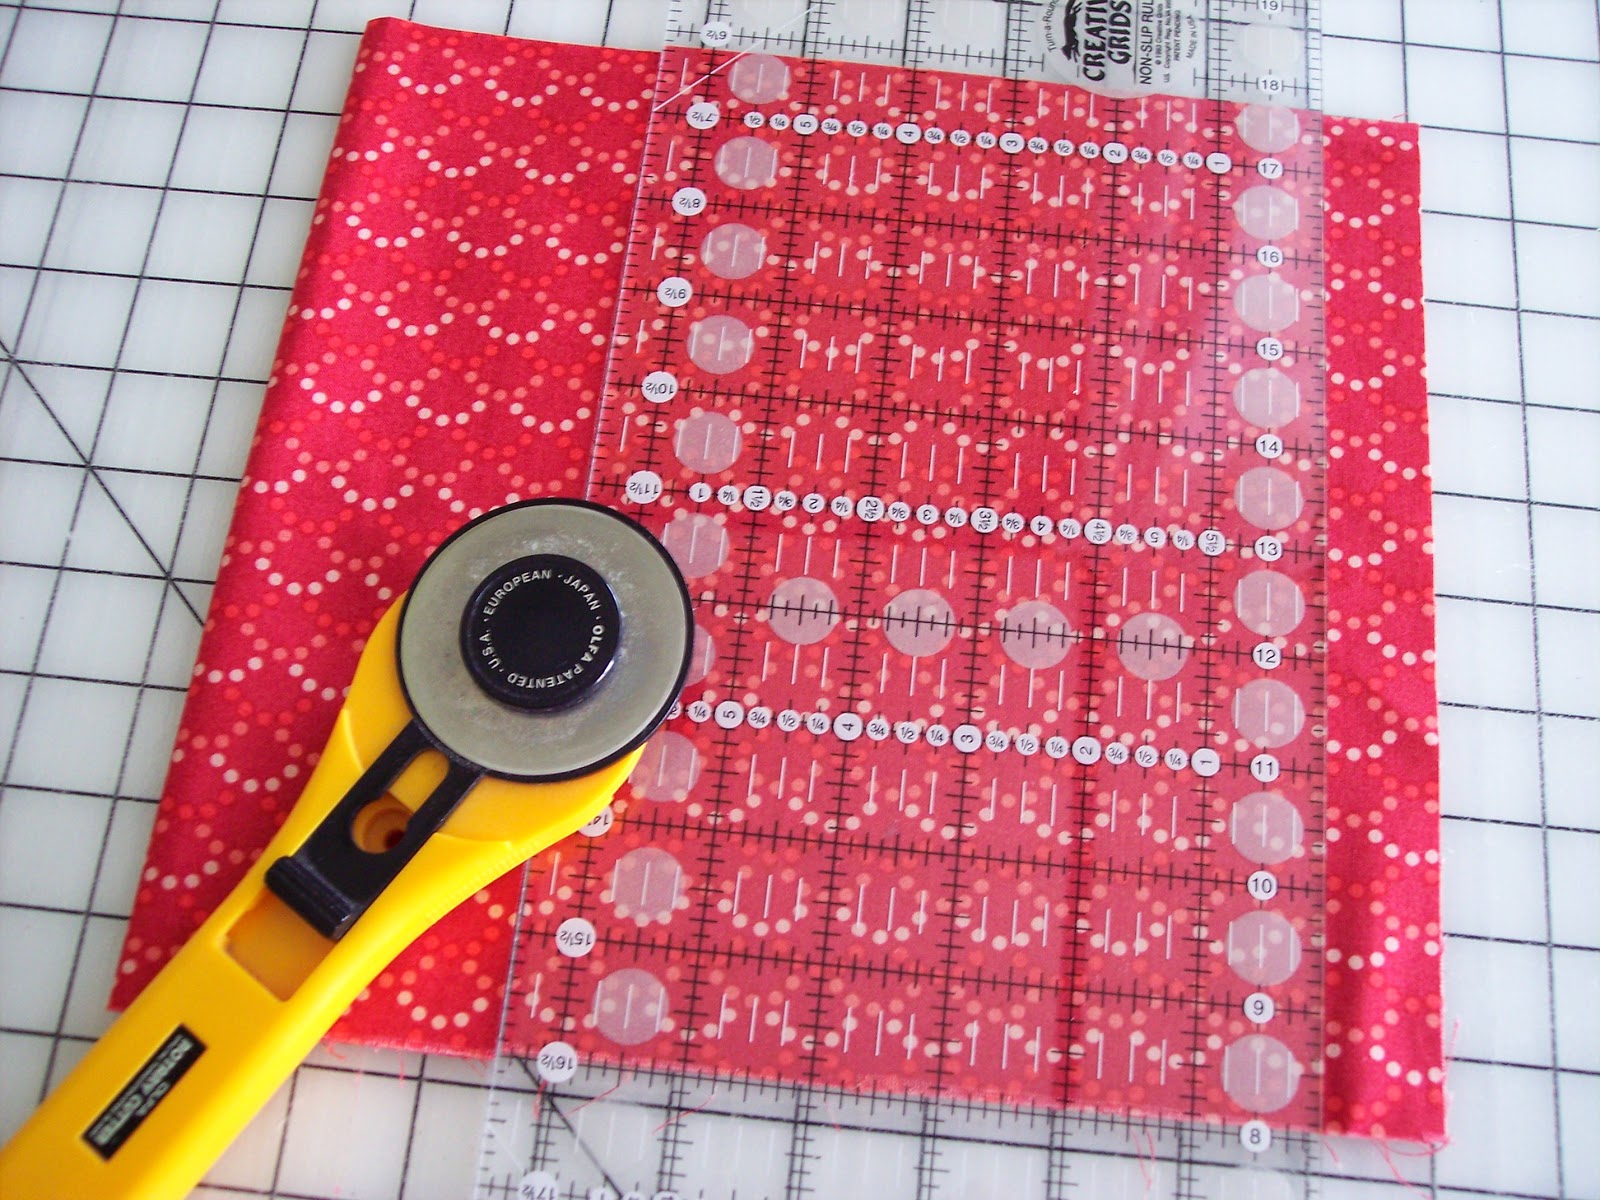
- Cut 2 pieces 7 ½” x 9 ¾”--outer fabric and lining
- Cut a piece of fusible batting 7 ½” x 9 ¾”
- Cut 1 on the fold 7 ½” x 5 ¼” Large pocket
 Cut 1 on the fold 7 ½” x 4 ¼” Small outer pocket
- Cut one piece 2 1/2” x 14” Wrist strap
- Cut one piece 1 ¾” x 2 ½” Loop for hook
- Strap hardware
- Button
- Marking utensil of choice
- Rounded corner template
Once you have cut your pieces, it is time to mark the rounded corners. I found a piece of cardboard in a pair of socks that I really love to use for marking rounded corners, but any small curve will work. Jar lid, glass, cup, etc.
 Mark all of the corners on the bag body pieces, open edges of pockets, and the batting--trim. Square corners are cute too!
Apply batting to the wrong side of the lining piece.
Lay the lining piece right side up.
 Pick up both of the folded cuts and open them up. On one end you will remove about 1 inch of fabric. This helps remove some of the bulk in the seam. Just zip it off with a rotary cutter or use pinking shears or a pinking blade, so it won’t ravel after some use.
Refold the pieces and align them together at the bottom and sides. There should be a one inch difference in the layers with the largest piece in the back.

 Now in order to create two front pockets for ID, debit cards, coupons, and the like, we will make a hidden seam. Open the top layer of the fabric and mark a vertical line down the center. (3 ¾ “ from side) Sew from fold crease to bottom on this inside line.
Drop the flap and align bottom and side edges with the lining piece. All right sides should be facing up with the short pocket on top. Set aside.

Now we will make the straps. Fold each strap piece in half and press a crease. Open the fabric and fold each long edge in to align with the crease. Press edges. Fold back on the center crease. Topstitch the shorter strap.

Take the shorter strap and fold in half to make a loop. I use tape to keep the edges aligned. That way they do not scoot when sewing, and I do not have the bulk of a pin to keep it in place.
 Once you have taped around the edges, return to the lining and pocket pieces. Place the short strap at the top of the short pocket with edges aligned for sewing. Tape it in place. ( The loop will be to the center.

Place the outer fabric over the lining right sides together. Starting at the top of the pockets on the right hand side, stitch around using a ¼ inch seam allowance. Leave about a three inch opening on the right side for turning. Clip the curves.

 Turn your pouch inside out. Fuss the edges and corners. Remove all of the tape and press. Topstitch to suit yourself. I like it both ways. Sometimes I go all the way around, but I often just topstitch the flap. (Be sure to catch the opening.)
Mark your button placement and buttonhole. Make the buttonhole and attach button. Pouch is finished.


Now we need to finish the wrist strap. Unfold the strap and thread it through the swivel hook ring. Turn so that right sides of the fabric are facing. It will seem inside out. Make sure you have no twists. Sew across the open edges. Press seam open and refold on the creases. Keeping the swivel hook out of the way, topstitch the strap. Pull the swivel hook down to the original stitching, align the edges and make a few passes with the machine to secure the hook in place.
Hook the strap to the loop on the pouch, and it is a done deal!
M


No comments:
Post a Comment